Creating an Education Data List
In this article
To build a list of our United States, United Kingdom, or International Schools or Teachers & Staff, start by clicking Education Data in the top right-hand corner of your dashboard. Here you will see a dropdown of your data sets and, if you hover over the data set you'd like to build your list of, this will give you the options for Schools or Teachers & Staff:

If you'd like to build a list of the schools or target school office emails, click on Schools. If you'd like to build a list of teachers or target direct email addresses then click on Teachers & Staff. Once you click on the option you'd like, this will bring you to your Schools/Teachers & Staff Table for your chosen data set.
Creating a List of Schools
To start building your list of schools, click on Filters - this will open a side panel where you can start to add your filters:

School Filters
When you click Add Filter under School Filters, this will bring up your available School Filters, which will be specific to your chosen data set. Click on the one you would like to use and then choose the parameter that suits your requirements:
N.B. These parameters will vary based on the filter option you have chosen.

Once you've chosen your parameter you'll be prompted to add a value. Add this and then click the Add button. This will apply your new filter and you will notice that the number of establishments in your table will reduce.
+ OR + AND
Now you've added your first filter, you'll have two new options for adding another - OR or AND:
 If you click the AND option, you will add another filter to the existing one, which will reduce the current list total. For example, on an International Data List:
Type is any of College, High, High Through Sixth Form, High School Through University
AND
Country is any of Albania
This will give you a list of these schools specified by the Type that are only in Albania.
If you click the OR option, you will be increasing your list total. For example:
Country is UK
OR
Languages are English
This will give you a list of schools in the UK, plus any other schools with English as their Language.
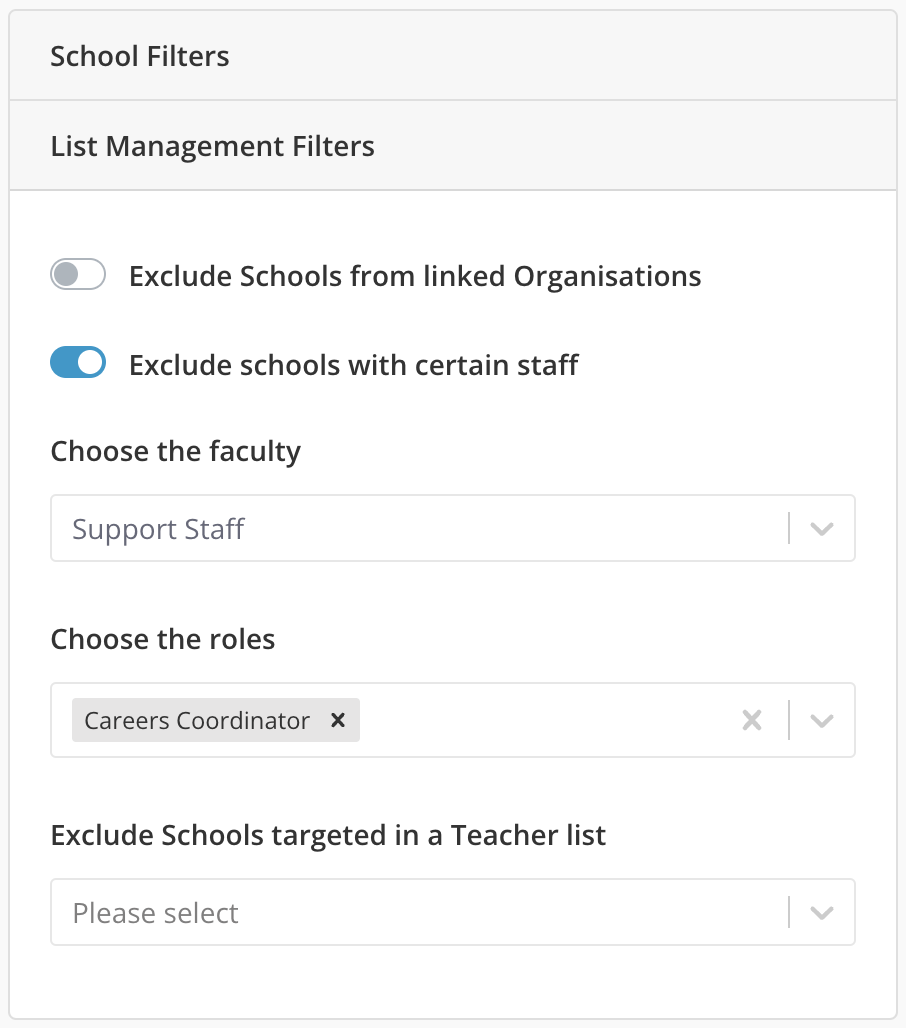
List Management Filters
When you have added all of your School Filters you then need to set your List Management Filters. You have three options:
- Exclude Schools from linked Organisations - this will exclude any schools that exist in your Contact Module as an Organisation and is linked to a School in the Education Database.
- Exclude schools with certain staff.
- Exclude Schools targeted in a Teacher list - in the dropdown, there will be your Teachers & Staff lists to choose from:
Once you have set your filters, click Close on the side panel.
Saving and Editing Your List
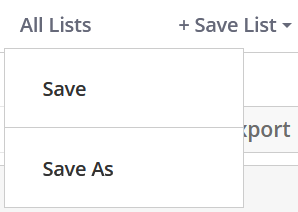
When you have closed the Filters side panel, you can then save your list by clicking +Save List on the right-hand side of the Schools table. Give your list a name and a description, and tick whether you want to Share, Pin, and Favourite your list:

- Share - sharing your list will mean the other account users can see and use your list.
- Pin - pinning your list means that the list will pinned onto the International Schools table:

- Favourite - making your list a favourite will anchor it to the top of all of your lists, making it easier to find in the future.
Once a list has been saved you can View and Edit your list by clicking All Lists. This will open up a table of all Education Data Lists where you can click on the list's name, taking you back to the Education Data table so that you can add/remove filters and re-save your list:
Creating a List of Teachers & Staff
If you've instead chosen Teachers & Staff to build your list around, you'll be taken to the Teachers & Staff table where the process for creating a list is the same as above.
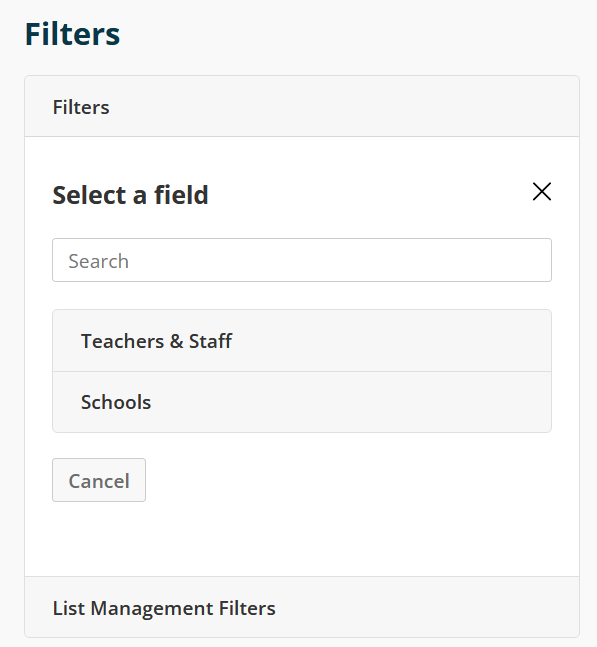
You will first need to set your Filters. This time you have Teacher and Staff Filters, as well as School Filters and List Management Filters:
Add the filters you would like by clicking one of the options and then choosing the relevant filter, adding more by clicking the + OR + AND option.
Remember that the AND option will reduce your list total as you will add a further filter to your existing one, and the OR option will increase your list total as you are essentially setting up another list (such as Head Teachers in London OR Head Teachers at schools with 15% of pupils eligible for Pupil Premium).
List Management Filters
- Exclude Unsubscribed (N.B. This will happen automatically when you send a marketing email to your list, even if you leave this unchecked at this point).
- Exclude Teachers and Staff who are already contacts in your Contact Module.
- Exclude Schools from your linked Organisations - this option will exclude Teachers from the list if they are against a School that already exists in your Organisations.
- Set a limit of people you want to target per establishment - some schools may have lots of teachers assigned to certain positions, for example, 'Associate Principal'. This filter option will allow you to limit the number of people you want to target at a single school, allowing you to make the most of your email credits to target as many schools as possible.
 Once you're happy with your Filters, you can close the sidebar and choose '+Save List' on the right-hand side of the page.
Exporting Your Data
Depending on the Campus plan that you are on, you may be able to export the data to use externally. To do this, you need to first make sure that you are viewing your list on the Education Data table. If you haven't just created and saved the list, head to All Lists and click on the name of your list to navigate back to this table with the correct data showing.
Once viewing the data table, the first thing you need to do is make sure that the columns showing are those that you want to export. To edit this, click on 'Edit Columns' and tick those that you would like to export. They will then be added as new columns to the data table. Once you've selected all of your columns you can then click the Export button to the right of the Edit Columns button:
 Once clicked, Campus will begin your export process.